
How to Build a Deck? A Step-by-Step Guide for Homeowners
Key Takeaways
- Plan your deck size, location, layout, and budget before starting construction.
- Check local building codes and permit requirements.
- Choose suitable materials for the decking boards and supporting frame.
- Build a stable foundation and properly spaced structural framing.
- Use corrosion-resistant fasteners suitable for outdoor conditions.
- Allow for proper spacing, drainage, and ventilation.
- Inspect the finished deck regularly to maintain its safety and appearance.
Table Of Contents
- 1. Plan Your Deck Design
- 2. Check Building Codes and Permits
- 3. Choose the Right Decking Material
- Pressure-Treated Wood
- Ipe Decking
- Cumaru Decking
- Composite Decking
- 4. Gather the Tools and Materials
- 5. Prepare the Ground and Mark the Layout
- 6. Install the Footings and Foundation
- 7. Build the Deck Frame
- 8. Install the Decking Boards
- 9. Build Stairs and Install Railings
- 10. Finish and Inspect the Deck
- Common Mistakes to Avoid When Building a Deck
- How Much Does It Cost to Build a Deck?
- Conclusion
Building a deck is a great way to create additional outdoor living space. A well-designed deck provides a place to relax, entertain guests, enjoy meals, and spend time with family. Whether you want a small backyard platform or a large outdoor entertaining area, proper planning and construction are essential.
Learning how to build a deck involves more than choosing attractive decking boards. You need to consider the location, deck size, foundation, framing, materials, fasteners, drainage, and local building requirements. Every part of the structure plays a role in its safety and long-term performance.
This guide explains how to build a deck step by step, from planning and material selection to installing the decking boards and completing the final inspection.
1. Plan Your Deck Design
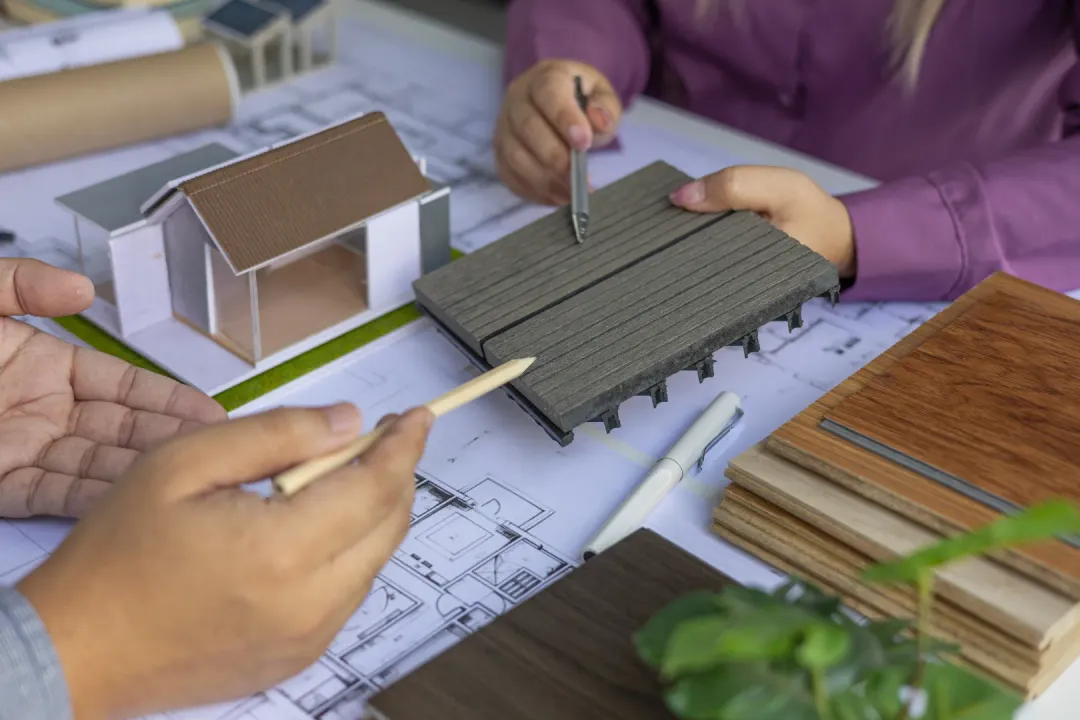
The first step in building a deck is deciding what you want the finished space to look like and how you plan to use it.
Consider the following questions:
How large should the deck be?
Will it be attached to the house or freestanding?
Will it be at ground level or elevated?
Do you need stairs, railings, or built-in seating?
Will you place a dining table, outdoor furniture, or a grill on it?
How much money can you spend?
The deck's design affects the materials, foundation, framing, and total construction cost.
You should also consider sunlight, shade, drainage, and access from the house. A deck placed near a kitchen or living room can make outdoor use more convenient.
Prepare a basic drawing showing the deck's dimensions, support locations, stairs, and railing positions. For larger or elevated decks, have the structural design reviewed by a qualified professional.
2. Check Building Codes and Permits
Before purchasing materials or starting construction, check your local building department's requirements.
Depending on the location, deck size, height, and design, you may need a building permit. Local rules may also specify requirements for:
Footing depth and dimensions
Beam and joist sizes
Joist spacing
Ledger board attachment
Stair dimensions
Structural connections
Required setbacks from property boundaries
Do not assume that a small deck is automatically exempt from permits. Requirements differ between municipalities.
If your deck will attach to your house, the connection between the deck and the building is especially important. Incorrect ledger installation can lead to structural failure.
3. Choose the Right Decking Material
Material selection affects the appearance, maintenance, installation process, and lifespan of your deck.
Here are some common options.
Pressure-Treated Wood
Pressure-treated lumber is commonly used for deck framing and can also be used for decking boards. It is treated to help protect against decay and insects.
It is generally affordable, but it requires appropriate maintenance. The wood can also shrink, swell, or develop surface cracks as moisture conditions change.
Ipe Decking
Ipe is a dense tropical hardwood known for its rich brown color, strength, and natural resistance to insects and decay. It is often used for premium outdoor decks.
Because Ipe is very dense, installation requires suitable tools, pre-drilling, and compatible fasteners. Its natural color can gradually turn silver-gray when exposed to sunlight if it is not maintained with a suitable UV-protective finish.
Cumaru Decking
Cumaru is another popular tropical hardwood. It offers attractive grain patterns, natural durability, and a warm appearance.
Like Ipe, Cumaru is dense and requires proper installation techniques. Allowing the boards to acclimate to the installation environment and following the supplier's recommendations can help reduce movement problems.
Composite Decking
Composite decking is made from a combination of materials, commonly wood fibers and plastic. It is available in different colors, textures, and board profiles.
Many composite products require less routine maintenance than natural wood. However, installation requirements vary by manufacturer. Expansion gaps, joist spacing, ventilation, and approved fasteners should follow the product instructions.
Before choosing a material, compare its initial cost, maintenance needs, appearance, and installation requirements.
4. Gather the Tools and Materials
Having the right equipment ready can make deck construction easier and more organized.
Common tools include:
Measuring tape
Circular saw or miter saw
Drill and impact driver
Shovel or post-hole digger
Framing square
Chalk line
Hammer
Safety glasses
Work gloves
Hearing protection
Materials depend on your design but may include:
Concrete for footings
Gravel
Deck posts
Beams
Joists
Ledger board, if attached
Decking boards
Joist hangers and structural connectors
Approved screws or hidden fasteners
Flashing and waterproofing materials
Railing and stair components
Use lumber and connectors rated for the intended outdoor exposure. Fasteners should be compatible with the wood treatment and decking material to help prevent corrosion.
5. Prepare the Ground and Mark the Layout

Once the design and materials are ready, prepare the construction area.
Remove grass, plants, loose debris, and other obstacles. Check the ground for drainage problems and make sure rainwater will not collect beneath the deck.
Use stakes and string to mark the deck's outline. Measure the diagonals to check whether the layout is square. If both diagonals are equal on a rectangular layout, it is a useful indication that the corners are properly aligned.
Check the planned elevation and finished deck height before digging or installing supports.
If the deck is being built over soil, consider the need for suitable ground preparation, drainage, and vegetation control beneath the structure.
6. Install the Footings and Foundation
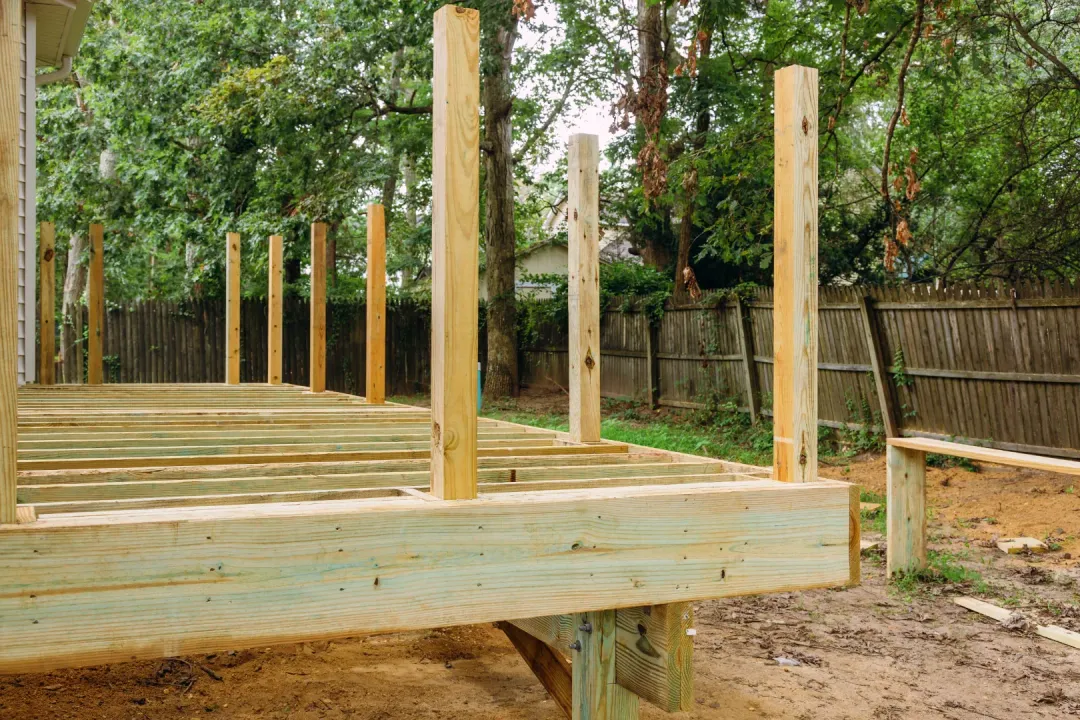
The foundation supports the deck and transfers its weight to the ground.
For many elevated decks, concrete footings are used to support posts. The number, size, depth, and placement of footings depend on the deck design, soil conditions, loads, and local building requirements.
The general process involves:
Marking the footing locations.
Digging holes to the required dimensions and depth.
Preparing the bottom of each hole.
Installing approved footing forms if required.
Placing concrete according to the design.
Installing approved post anchors or connectors.
Allowing the concrete to cure as specified.
Do not guess footing dimensions or spacing. Poor foundation work can cause the deck to settle, shift, or become unstable.
For decks close to the ground, the foundation and support approach may be different. Follow an approved design for the site.
7. Build the Deck Frame
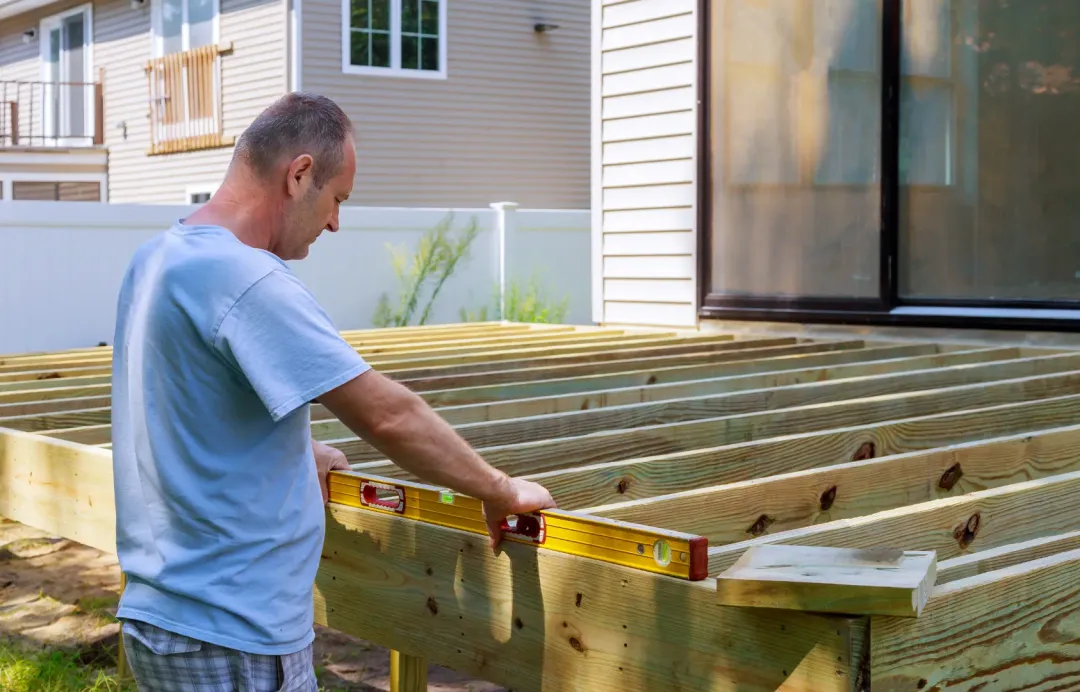
The deck frame provides structural support for the decking boards.
It generally includes posts, beams, joists, and the necessary connectors.
If the deck is attached to the house, the ledger board must be securely connected to the building's structural framing using approved fasteners. Proper flashing is also important to prevent water from entering the wall.
Next, install the beams and joists according to the structural plan.
Joist spacing depends on the decking material, board thickness, installation direction, and expected loads. Composite decking often has specific spacing requirements that differ from those for natural wood.
Use a level to check that the frame is aligned correctly. Secure all connections with approved structural hardware rather than relying on ordinary nails or screws where structural connectors are required.
8. Install the Decking Boards
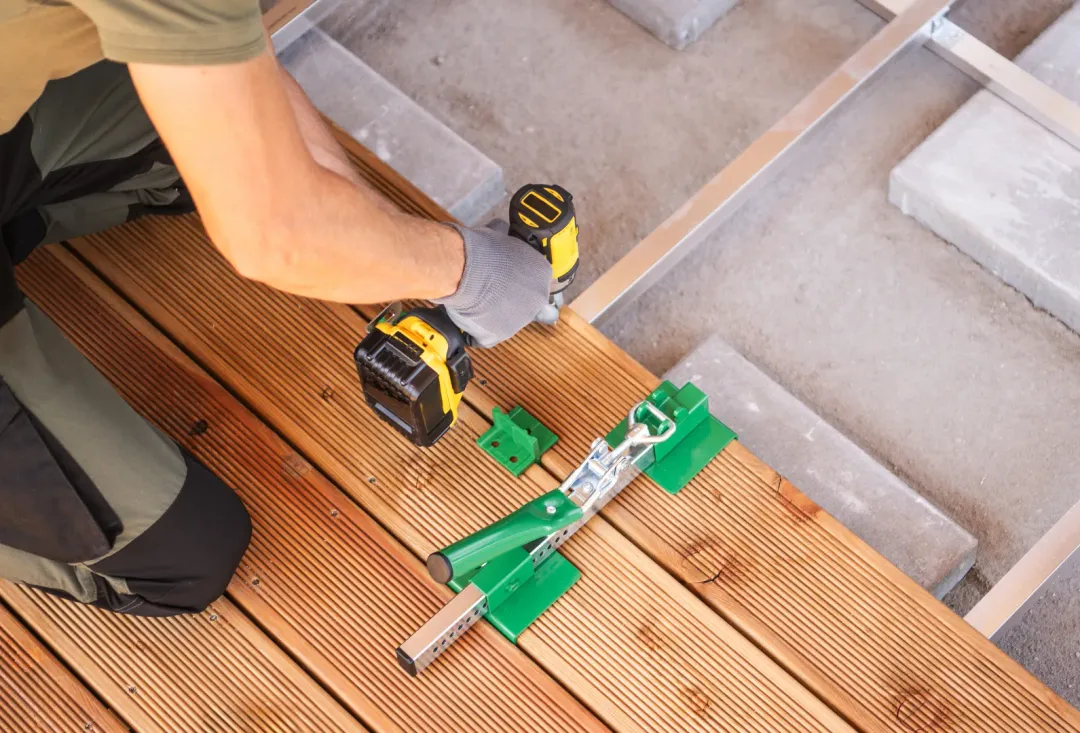
Once the frame is complete and inspected, you can begin installing the decking boards.
Start by checking that the frame is clean, level, and ready for installation.
Place the first board along the selected starting edge. Make sure it is properly aligned before fastening it.
For natural wood decking:
Check the boards for defects before installation.
Allow the material to acclimate as recommended by the supplier.
Pre-drill dense hardwoods where required.
Use corrosion-resistant screws suitable for the wood species.
Maintain consistent spacing between boards.
For composite decking:
Follow the manufacturer's recommended joist spacing.
Use approved hidden fasteners or face screws.
Allow the specified gaps between boards and at the ends.
Follow expansion and ventilation requirements.
Use compatible fascia and edge finishing products.
Do not assume that all decking boards require the same gaps. Natural wood and composite materials can respond differently to temperature and moisture changes.
9. Build Stairs and Install Railings
If your deck is elevated, stairs and railings may be required for safe access.
Stairs should have consistent riser heights and tread depths. Their dimensions, width, handrails, and support requirements must meet local building codes.
Railings should be securely attached to the deck structure. They must be designed to resist the loads required by local regulations.
Check the height, spacing, and strength of railing components before using the deck.
For complicated staircases or elevated decks, professional installation is recommended.
10. Finish and Inspect the Deck
After installing the decking boards, complete the remaining finishing work.
Check for:
Loose or missing fasteners
Uneven board edges
Sharp corners or splinters
Gaps around posts
Unstable railings
Improper stair connections
Water drainage problems
Damaged or poorly fitted boards
If you have installed natural wood decking, apply a suitable exterior finish when recommended by the manufacturer and after the wood is ready for treatment.
Composite decking usually does not require staining, but it still needs regular cleaning according to the manufacturer's instructions.
Before using the deck, make sure all required inspections have been completed and any identified problems have been corrected.
Common Mistakes to Avoid When Building a Deck
Even a well-planned project can run into problems if important construction details are overlooked.
Avoid these common mistakes:
Ignoring building codes: Failing to follow permit and safety requirements can lead to costly corrections.
Using incorrect fasteners: Incompatible fasteners may corrode or damage the decking material.
Poor drainage: Water that collects beneath or around a deck can contribute to moisture-related damage.
Incorrect joist spacing: Decking boards may bend or fail if the support spacing does not meet product requirements.
Skipping acclimation: Some natural wood products need time to adjust to the installation environment.
Ignoring expansion gaps: Composite boards can expand and contract with temperature changes. Follow the manufacturer's spacing instructions.
Choosing materials based only on price: Lower initial costs may lead to higher maintenance expenses over time.
How Much Does It Cost to Build a Deck?
The cost of building a deck depends on its size, height, material, foundation, labor, and design complexity.
A basic ground-level pressure-treated wood deck will generally cost less than a large elevated deck made with premium hardwood or composite decking.
Additional expenses may include:
Site preparation
Concrete footings
Structural framing
Decking boards
Fasteners and connectors
Stairs and railings
Permits and inspections
Finishing and maintenance products
For an accurate budget, measure the planned deck area and request estimates that include both materials and installation. Compare the complete project cost rather than looking only at the price of the decking boards.
Conclusion
Building a deck requires careful planning, suitable materials, and proper construction techniques. From preparing the foundation and installing the frame to fastening the decking boards and completing the railings, every step contributes to the structure's safety and long-term performance.
Whether you choose pressure-treated lumber, Ipe, Cumaru, or composite decking, follow the manufacturer's installation instructions and local building requirements. A properly designed and maintained deck can provide a comfortable outdoor space for many years.